 VizTools AI
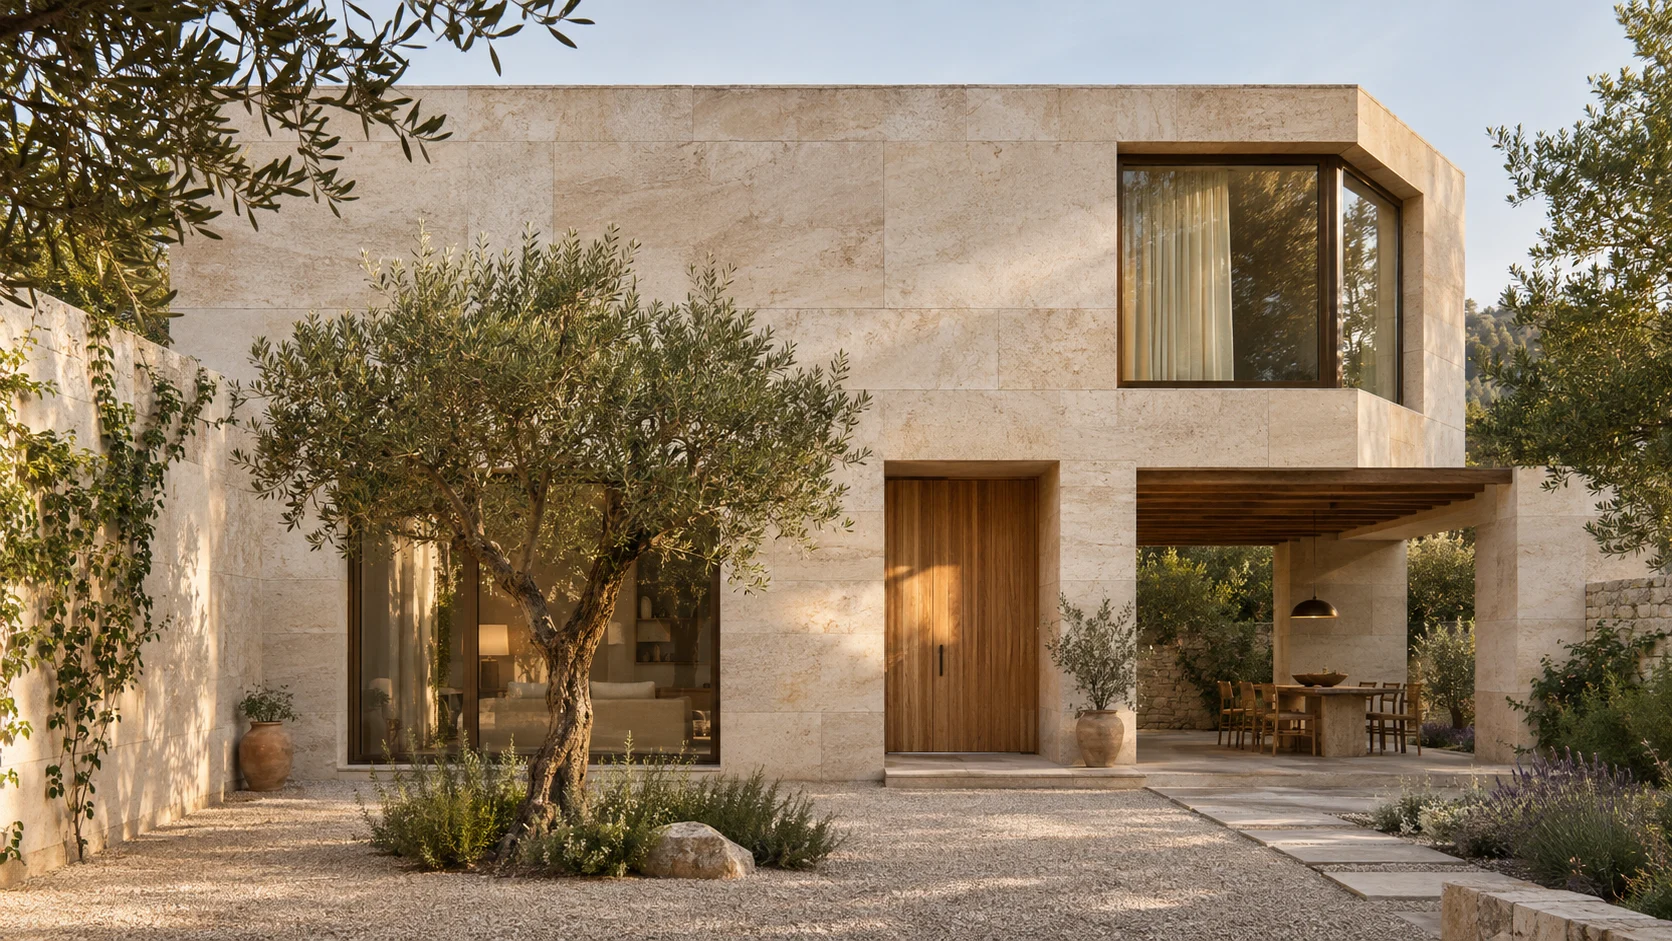
Nano Banana 2.1 became generally available on Google Cloud on October 6, 2026. For an architect, a useful first test is a specific edit: replace a facade material, adjust interior lighting or prepare a presentation variant. That makes it easier to see whether the model helps and how much correction the output still needs.
Compare it with Nano Banana Pro using the same source image. A similar result in one successful frame does not tell you whether both models preserve window openings, detail thickness and composition through further edits.
What the documentation confirms
Google lists image generation and multi-turn editing, 1K, 2K and 4K output, and up to 14 images per prompt for Nano Banana 2.1. Its official model identifier is gemini-nano-banana-2.1.
For a practical trial, start with one render and one material reference. Explain their roles: the render defines the architecture; the reference supplies the color and texture. Adding more images does not automatically make the brief clearer. If the references conflict in lighting or scale, choose which one should guide the edit before sending the request.
Nano Banana 2.1 specifications from Google
Are Nano Banana 2.1 and Pro the same?
They are separate models: Nano Banana Pro is gemini-3-pro-image. Google positions Pro for complex image generation and editing. That description alone cannot establish which version will preserve your particular facade more accurately.
Use an identical source, task, aspect ratio and resolution for the comparison. Record the waiting time, cost and number of manual corrections. Check the details that matter to the project separately: window mullions, cladding joints and countertop edges. One attractive output is no substitute for several attempts.
A useful selection question is: which result can you prepare for a presentation with less rework while keeping the design intent? The answer may differ between an early interior concept and a precise edit to an approved exterior.
Official Nano Banana Pro model card
Your first architectural test
Choose a view whose geometry you know well. Keep a separate copy of the source and request one change. For example, replace brick with pale stone while retaining opening dimensions and the camera position. Lighting can be the next task, once you have assessed the material edit.
Review the output beside the original at the same scale. Count the windows on a facade and inspect the building corners. For an interior, compare circulation space, furniture supports, door widths and reflections. If the model has redesigned the room, return to the source and narrow the task. Continuing from altered geometry makes it harder to identify where an error first appeared.
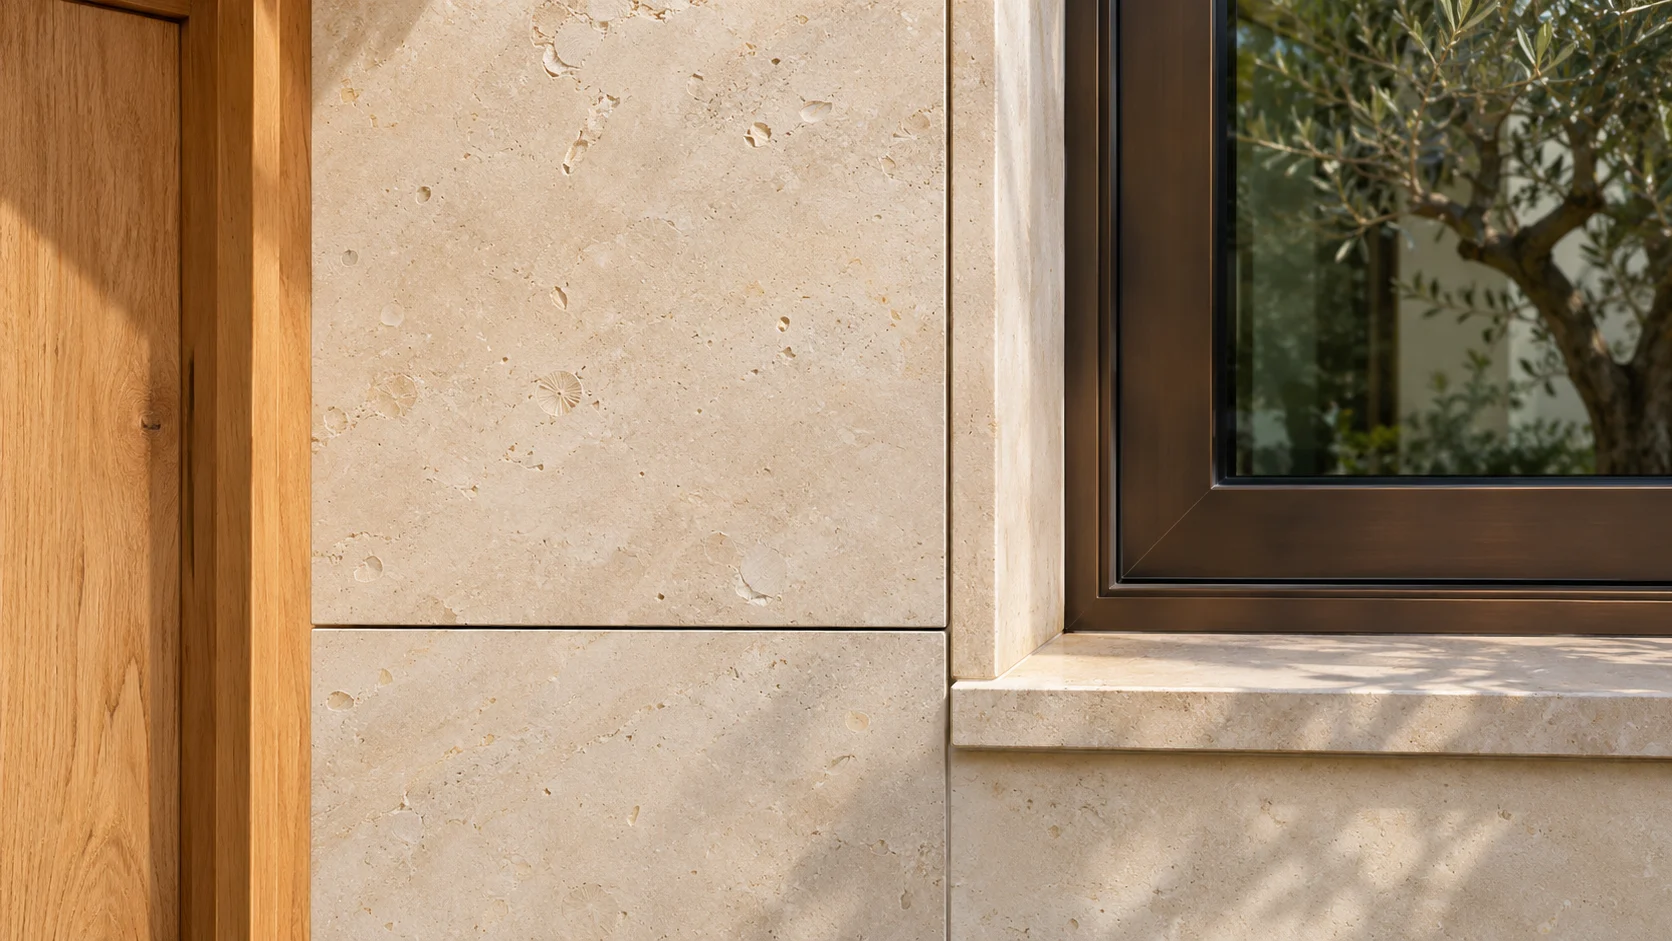
A prompt for changing a material
Preserve the original architecture, camera viewpoint, window and door positions, and planting. Replace only the brick facade cladding with pale limestone with a fine matte texture. Preserve the existing lighting and shadows. Do not add floors, openings, decorative elements or lettering.
Treat this as a starting point for a test, not a guarantee of geometric preservation. If the output changes too much, identify a smaller area or use an available selection tool. Split the request into stages: change the material first, then adjust its color separately.
Before showing the image to a client, zoom in on joints, thin railings and where objects meet surfaces. Verify lettering, numbers and dimensions manually. A convincing image does not establish that the construction is correct. When presenting a concept, label the intended change and keep the original version beside it.
Change the light while keeping the interior
Choose a source image in which the floor and walls are clearly visible. Keep the furniture and materials fixed while testing lighting, so that unwanted changes are easier to trace. Specify where the light comes from and how soft the shadows should be. Check that it actually enters through an existing window.
Prompt: “Preserve the layout, furniture, materials and camera position. Change only the daylight: soft morning light from the existing window on the left, gentle shadows across the floor and a neutral white balance. Do not add windows, light fittings or objects. Keep texture visible on the white walls and detail in the darker areas.”
If the model adds an opening or moves a chair, return to the original image. A brighter image alone does not demonstrate a plausible lighting change.
Give a material reference a clear role
Use a photograph of the stone or timber without a strong colour filter. A close view is useful, together with a short description of scale: fine pores, narrow boards or large slabs. If the sample was photographed under warm artificial light, explain the intended colour under daylight.
Prompt: “Image 1 defines the geometry, perspective and lighting. Use image 2 only as a reference for the stone colour and fine surface texture. Apply it to the solid facade areas in image 1. Preserve panel dimensions, joint layout, window frames, doors, glazing and planting.”
Look for shadows or objects copied from the reference along with its texture. If the pattern is too large, adjust its scale in the next request while keeping the rest of the brief unchanged.
Choose a resolution and compare the total cost
For an early concept, start with 1K. If the task depends on window mullions, joints or a fine material pattern, consider a 2K version. Choose 4K for a specific final layout size. Extra pixels will not repair a displaced window or an incorrect building shape.
Before comparing with Pro, fix the source image, prompt, aspect ratio and resolution. Record the displayed service price, waiting time and required corrections for each attempt. A useful scorecard asks whether geometry is preserved, the material matches, the lighting is coherent and the image is ready to show. Count every attempt in the cost, including the unsuccessful ones. This article provides a testing method; it contains no measured speed or quality benchmark of the two models.
Try it in VizTools AI
Open image generation in the VizTools AI editor and choose version 2.1 from the Nano Banana family. It is listed in the service's model catalog at the time of writing. Add your source render, request one edit and check the run price before generating.
For your comparison, retain the source, prompt and output from each model. Include the versions that still need work alongside the most attractive result: they help reveal how useful the tool will be for your actual task.